Release data
Role: Data Owner, Data Gatekeeper
Goal: You want to review a Dataset, make it available, and define who can access its data.
Required Permissions: create Dataset, release Dataset
What you will achieve
After completing this guide, you will have:
- Reviewed a Dataset
- Managed access permissions
- Optionally enabled Open Data access
- Marked the Dataset as Available
- Made the Dataset accessible through its API
Before you start
- the Dataset is in status Ready
- the data flow and configuration have already been completed
- you have permission to release Datasets
Understand Dataset availability
Before making a Dataset available, make sure it is ready for use. In CIVITAS/CORE, a Dataset becomes accessible when its status is set to Available.
This means:
- the payload data of a Dataset can be accessed through its API
- access is controlled through Access Management
- optional Open Data access allows use without authentication
In this guide, you review and release the smart meter Dataset created in the previous steps. Once the Dataset is available, its data can be accessed through the API. You can control access through groups and roles or make the data publicly accessible by enabling Open Data.
Step-by-step guide
Step 1: Review the Dataset
The review step ensures that the Dataset is complete and ready to be shared.
- Go to Datasets
- Open the Dataset from List
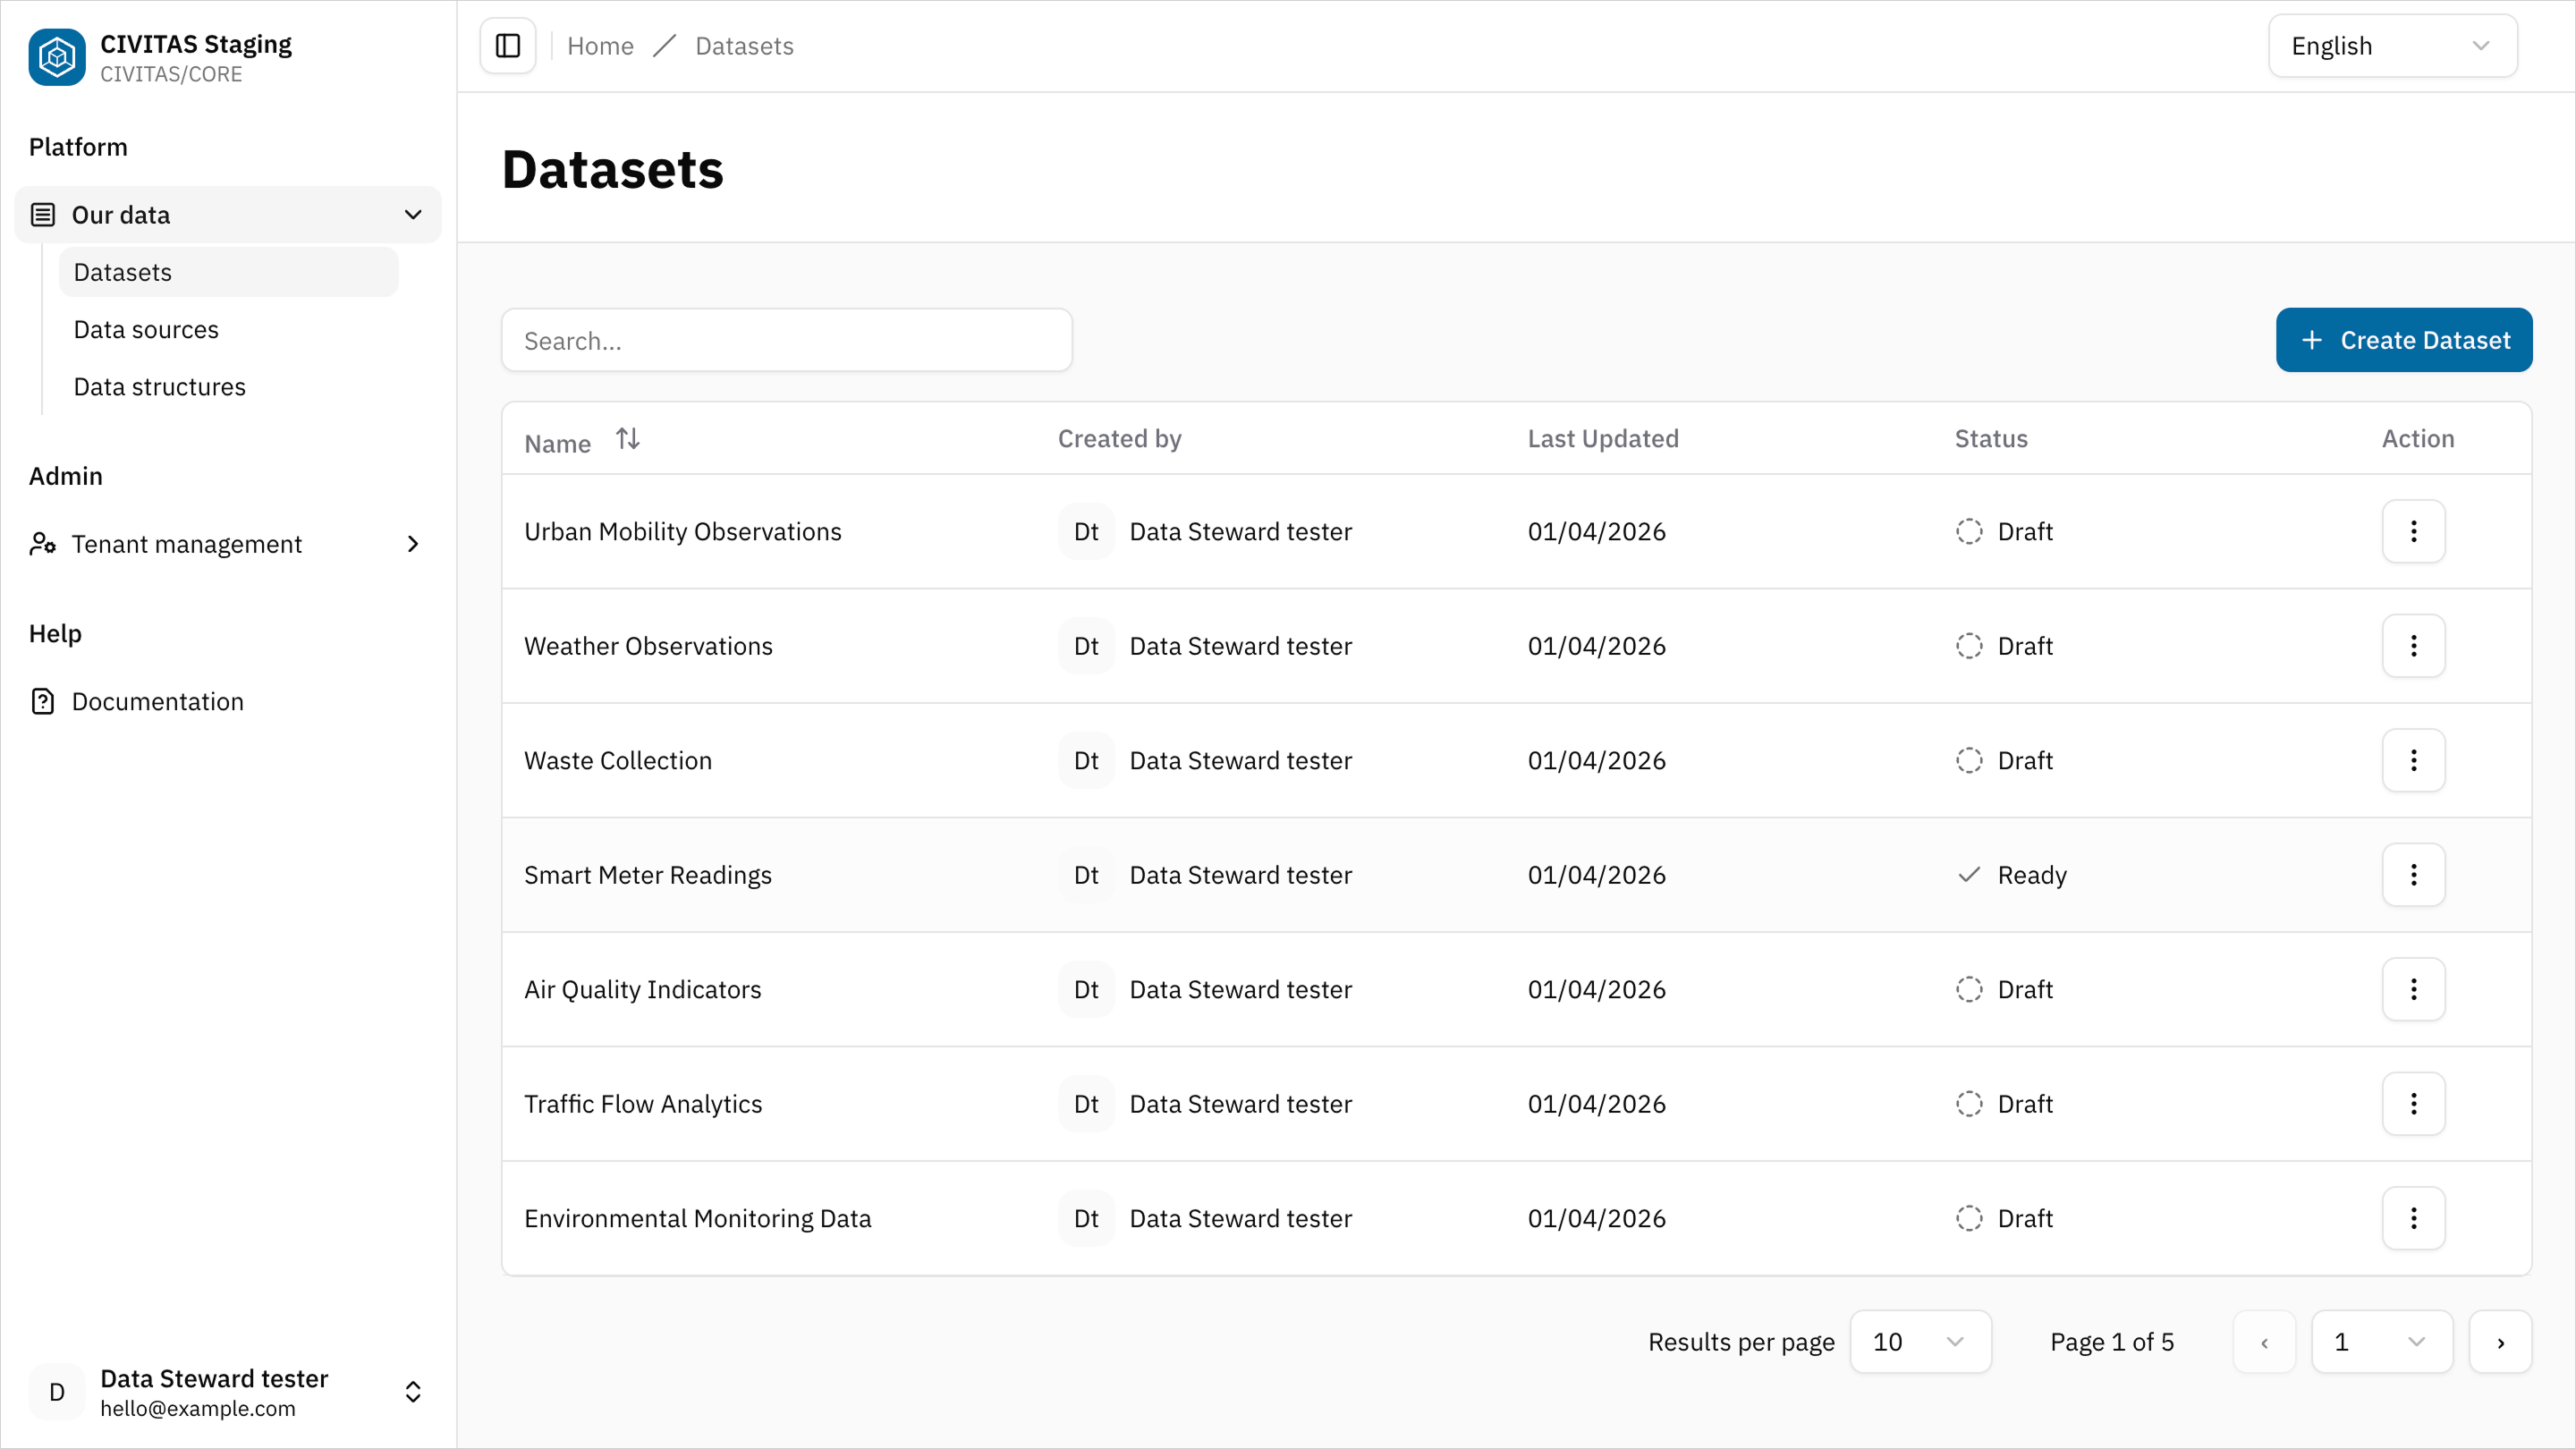
- Review Base information, Data flows and their Configuration, and Access permissions of the Dataset
Optional: Manage Access permissions
Access defines who can view and use the Dataset.
- Click Edit Groups and Roles in the 3rd section Access Management
Add access
- Add a Group
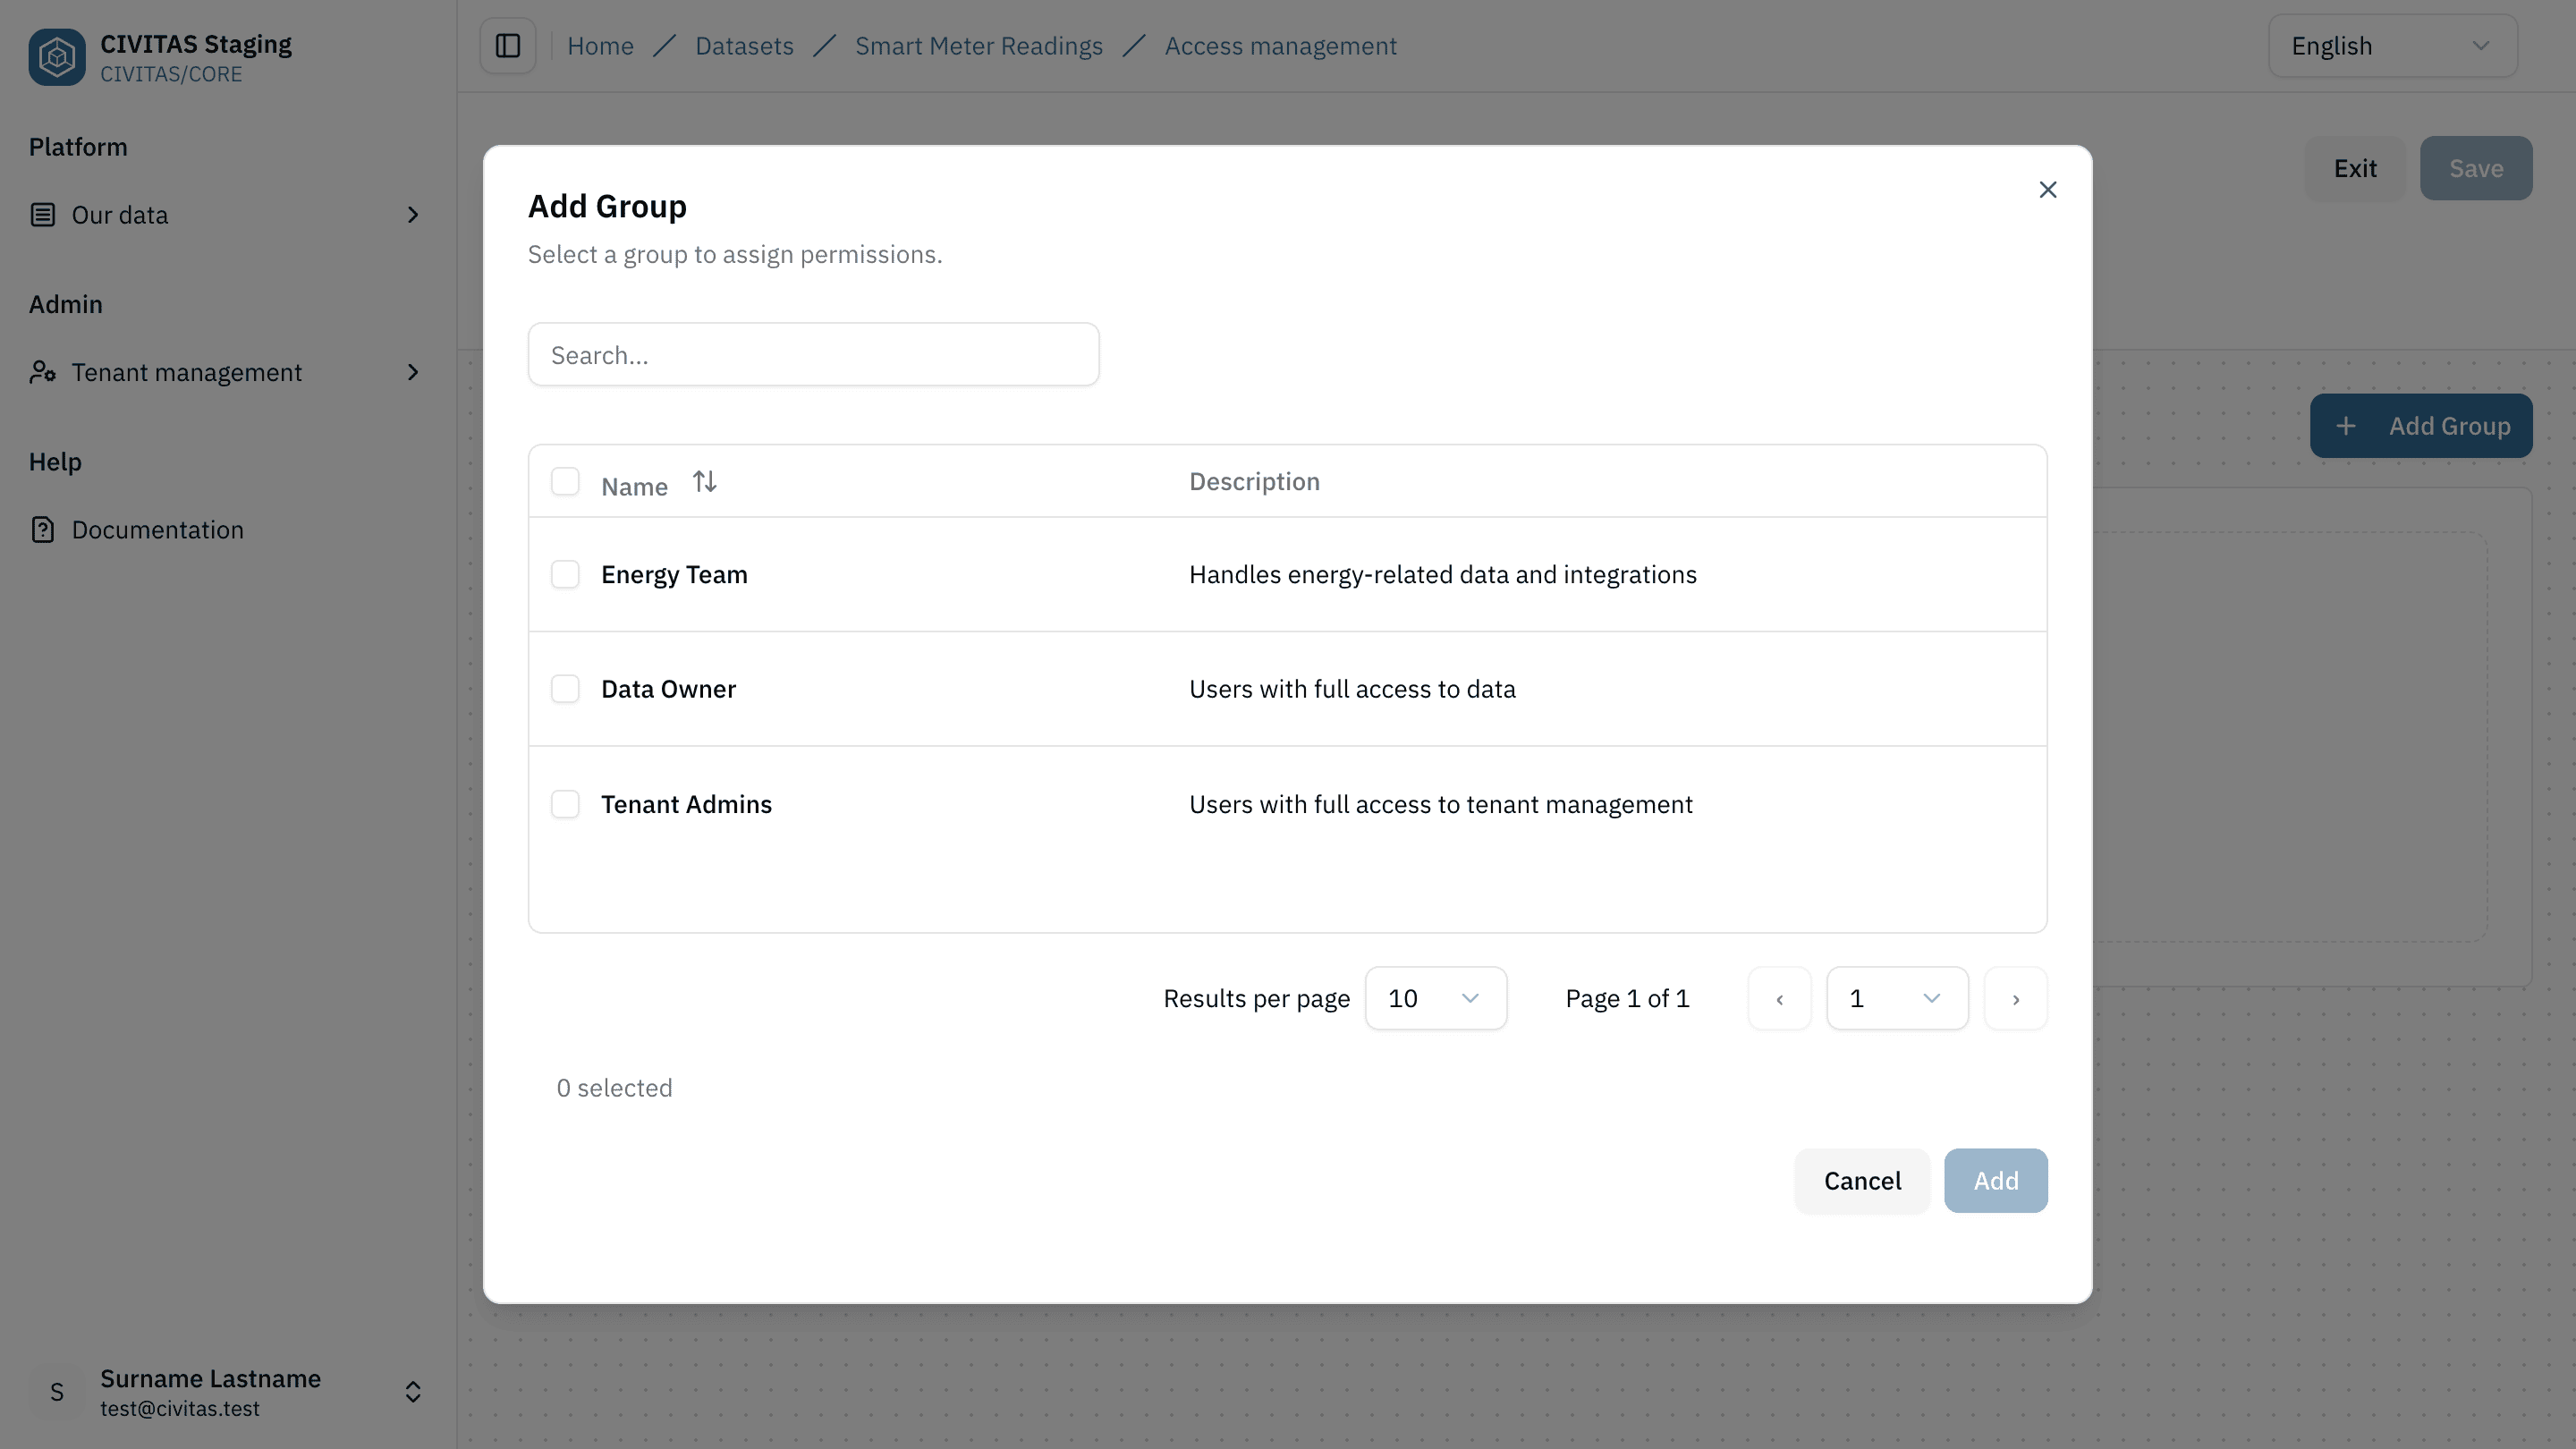
- Assign a Role to the Group
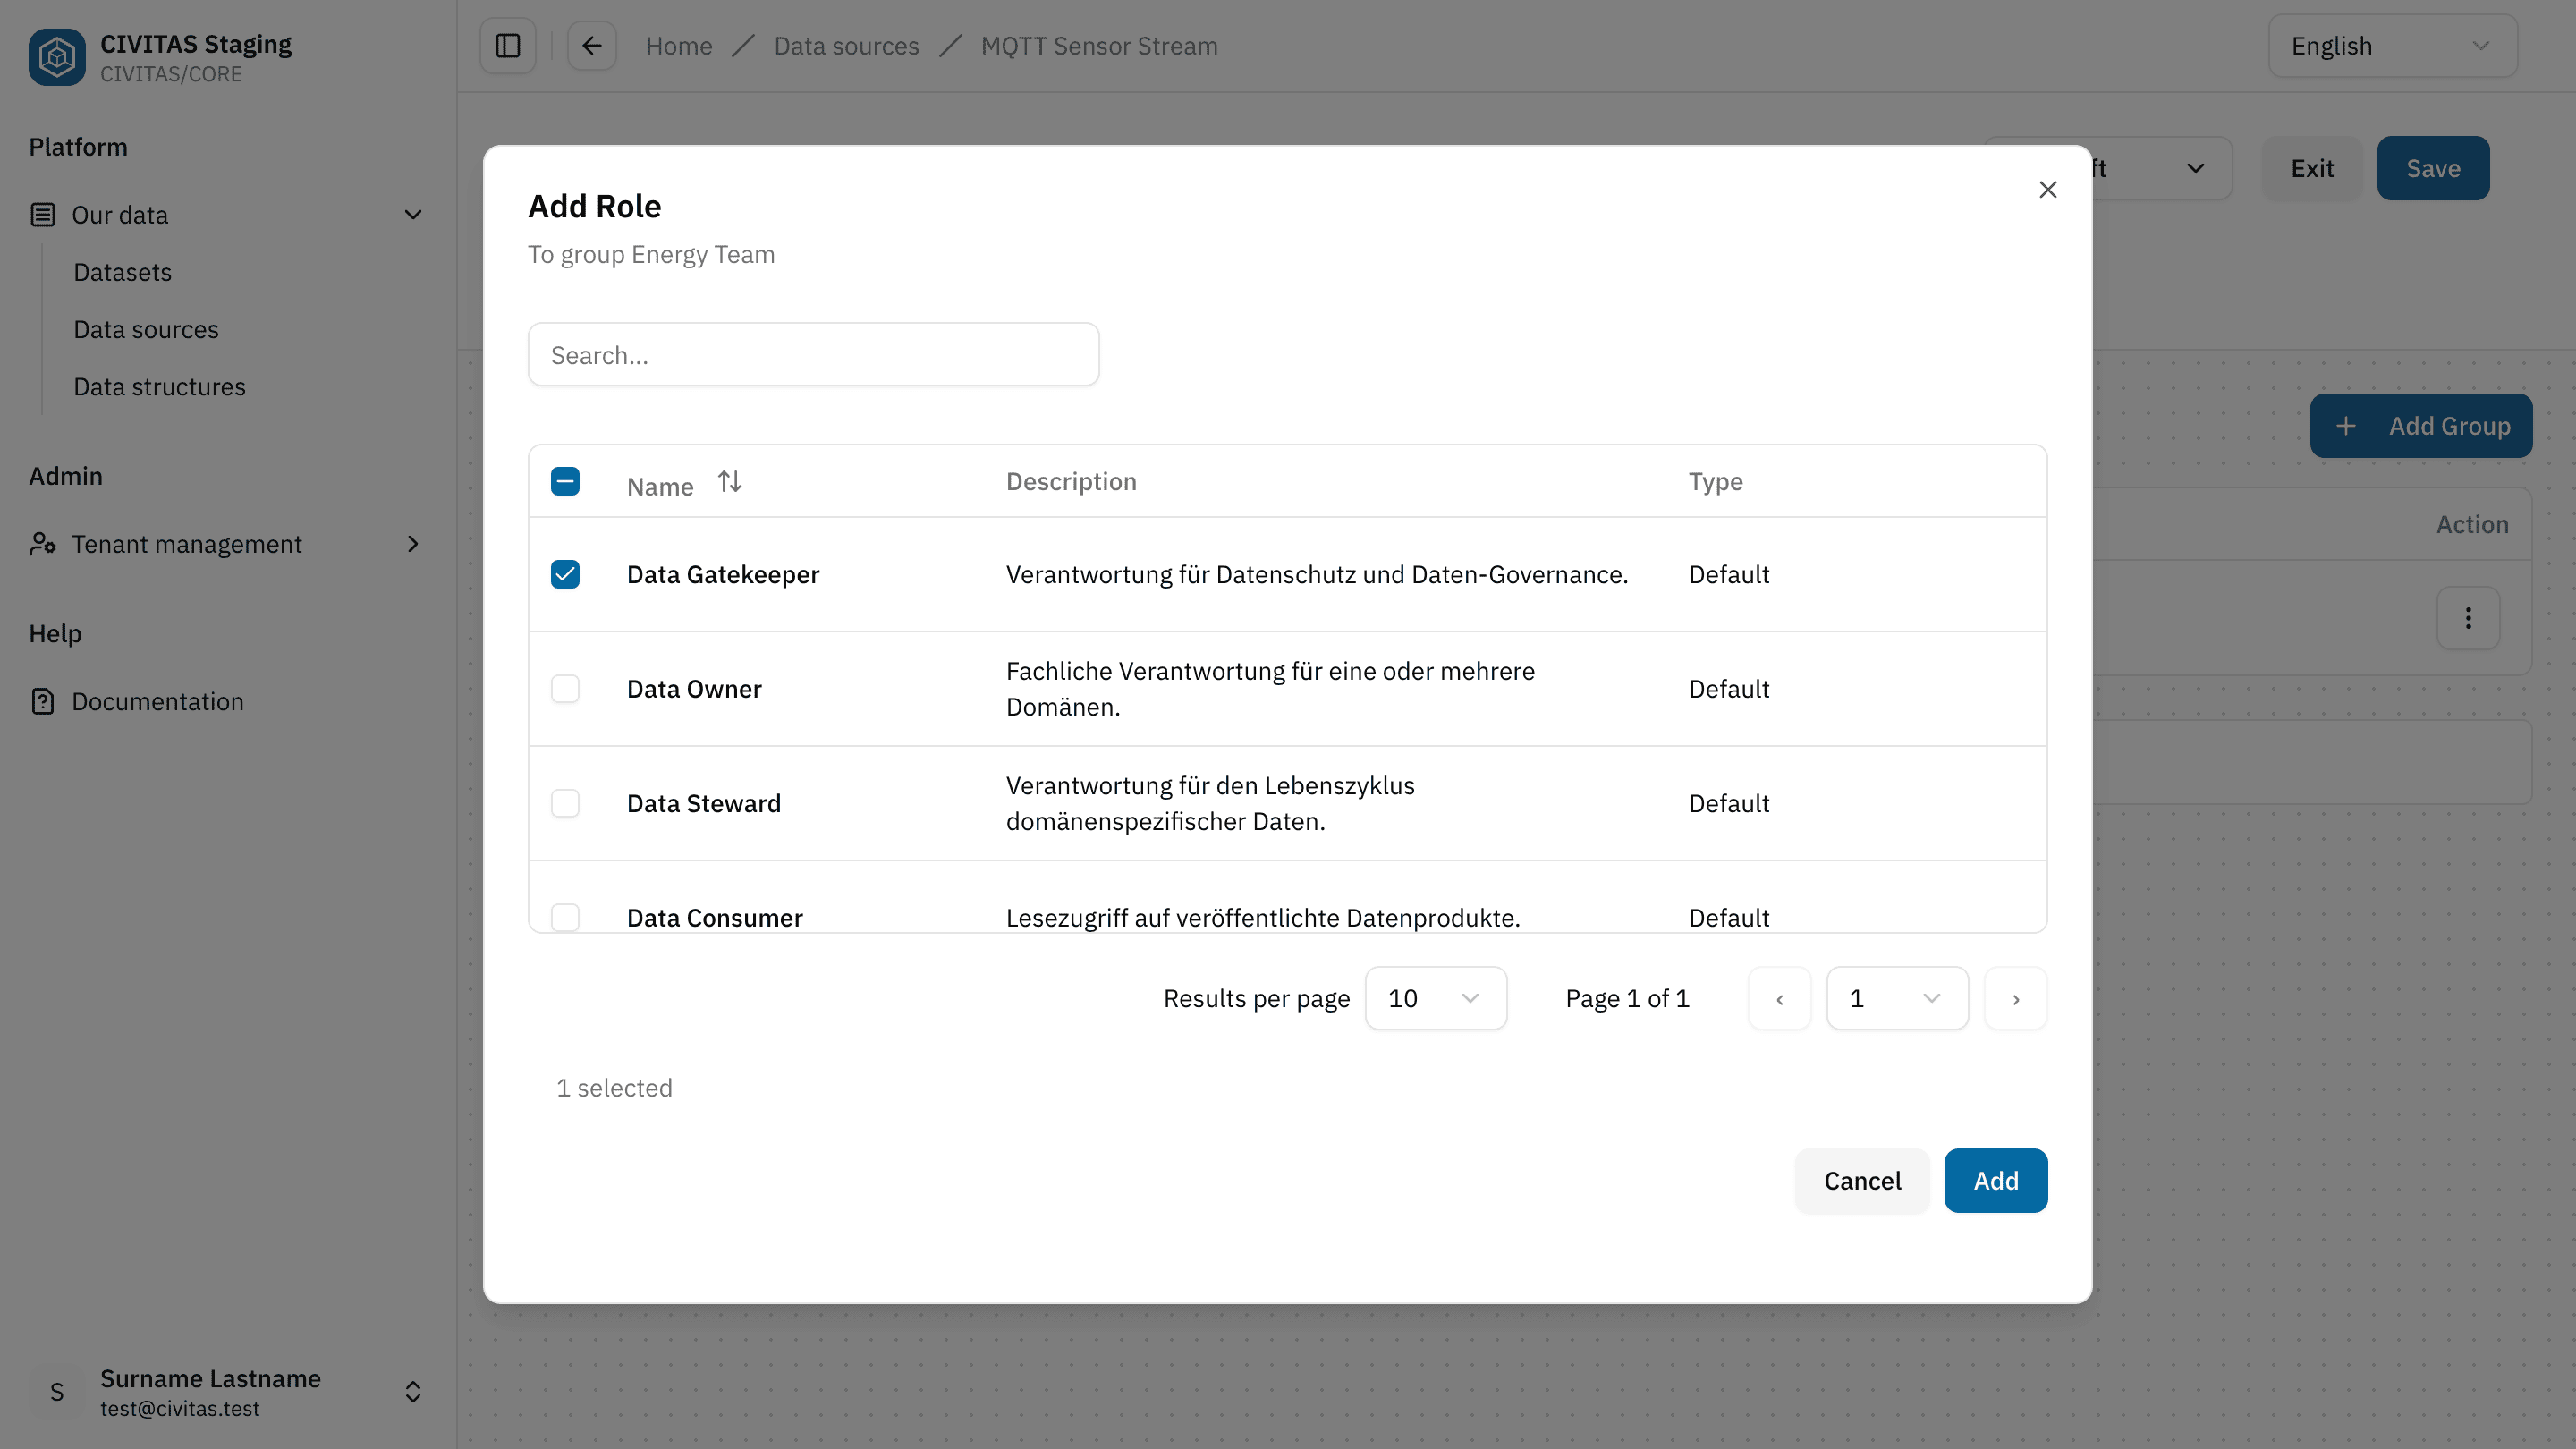
- Repeat these steps to add more Groups and Roles
Remove access
- In the table, locate the Group-Role assignment you want to remove
- Click the three dots in the Actions column
- Select Remove Group
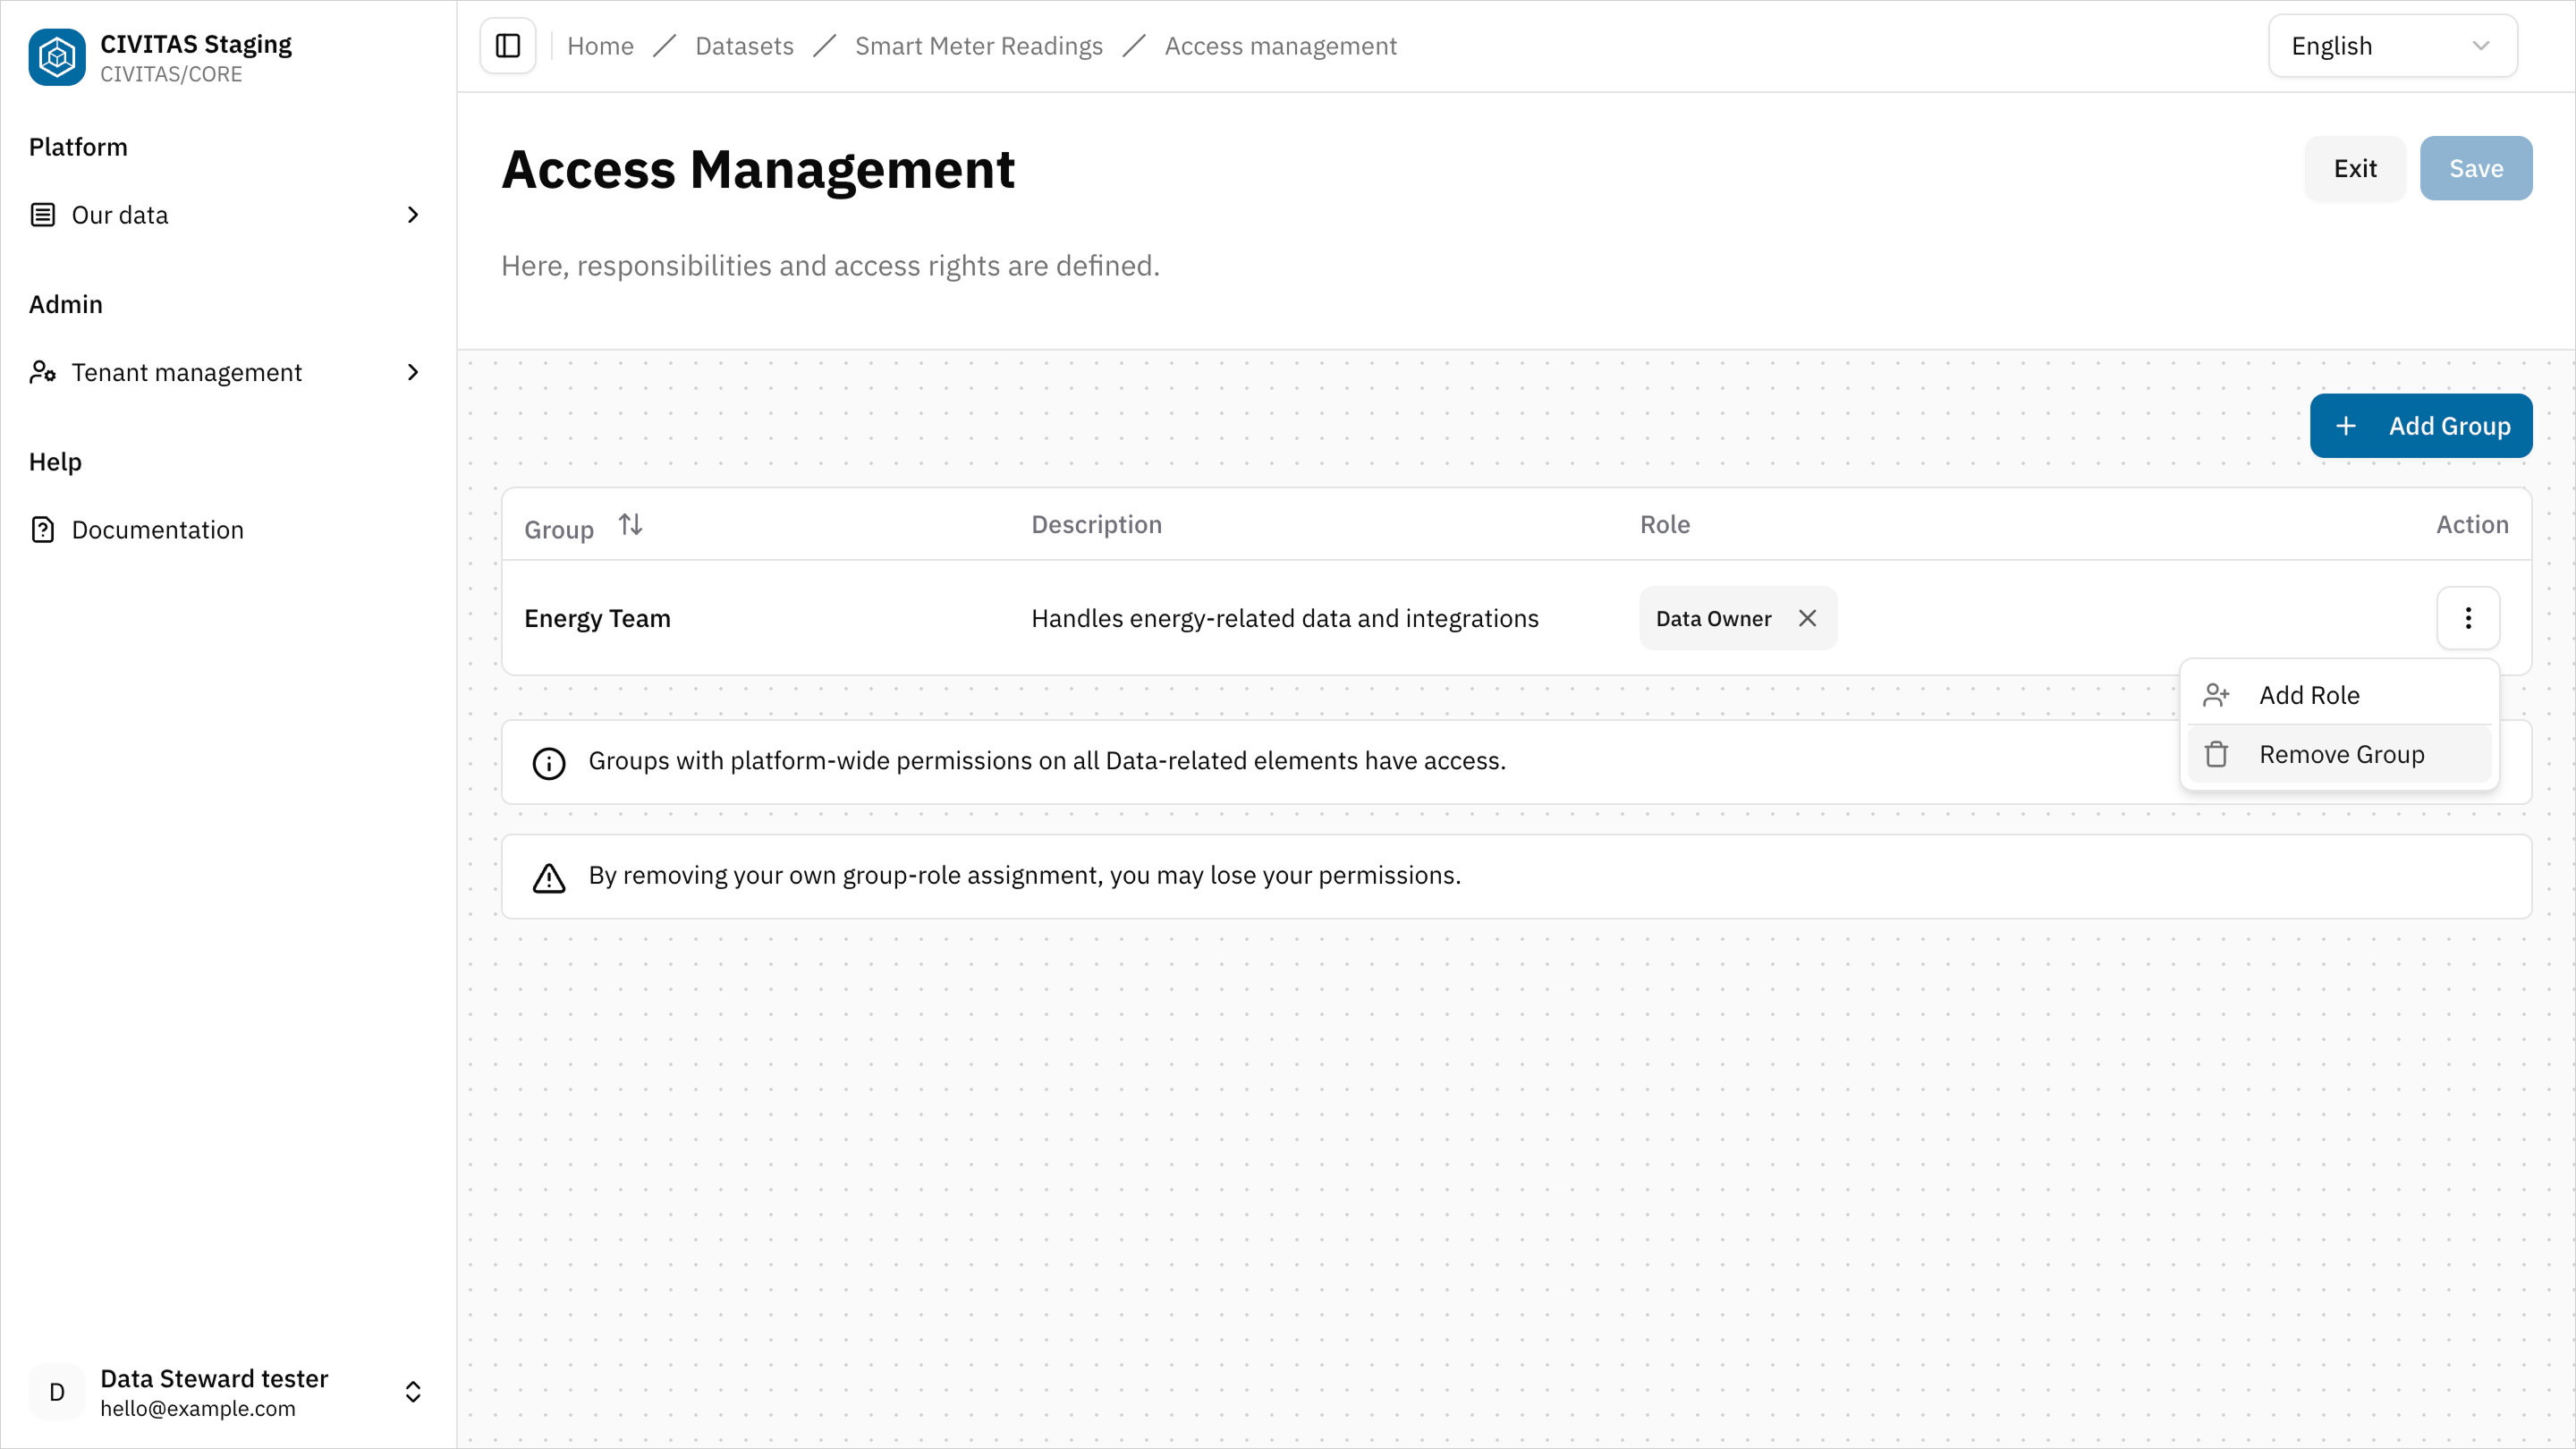
→ Removing a Group also removes all associated Role assignments for this Dataset.
- Hit Save and Turn back to the detail view of the Dataset
- Access is defined by assigning a Role to a Group within the Dataset
- Adding or removing assignments directly changes who can access the data
- Make sure the correct Groups and Roles are assigned before releasing the Dataset
Optional: Enable Open Data access
Open Data allows access to the payload of the Dataset without authentication.
- Activate Open Data in the 3rd section Access Management
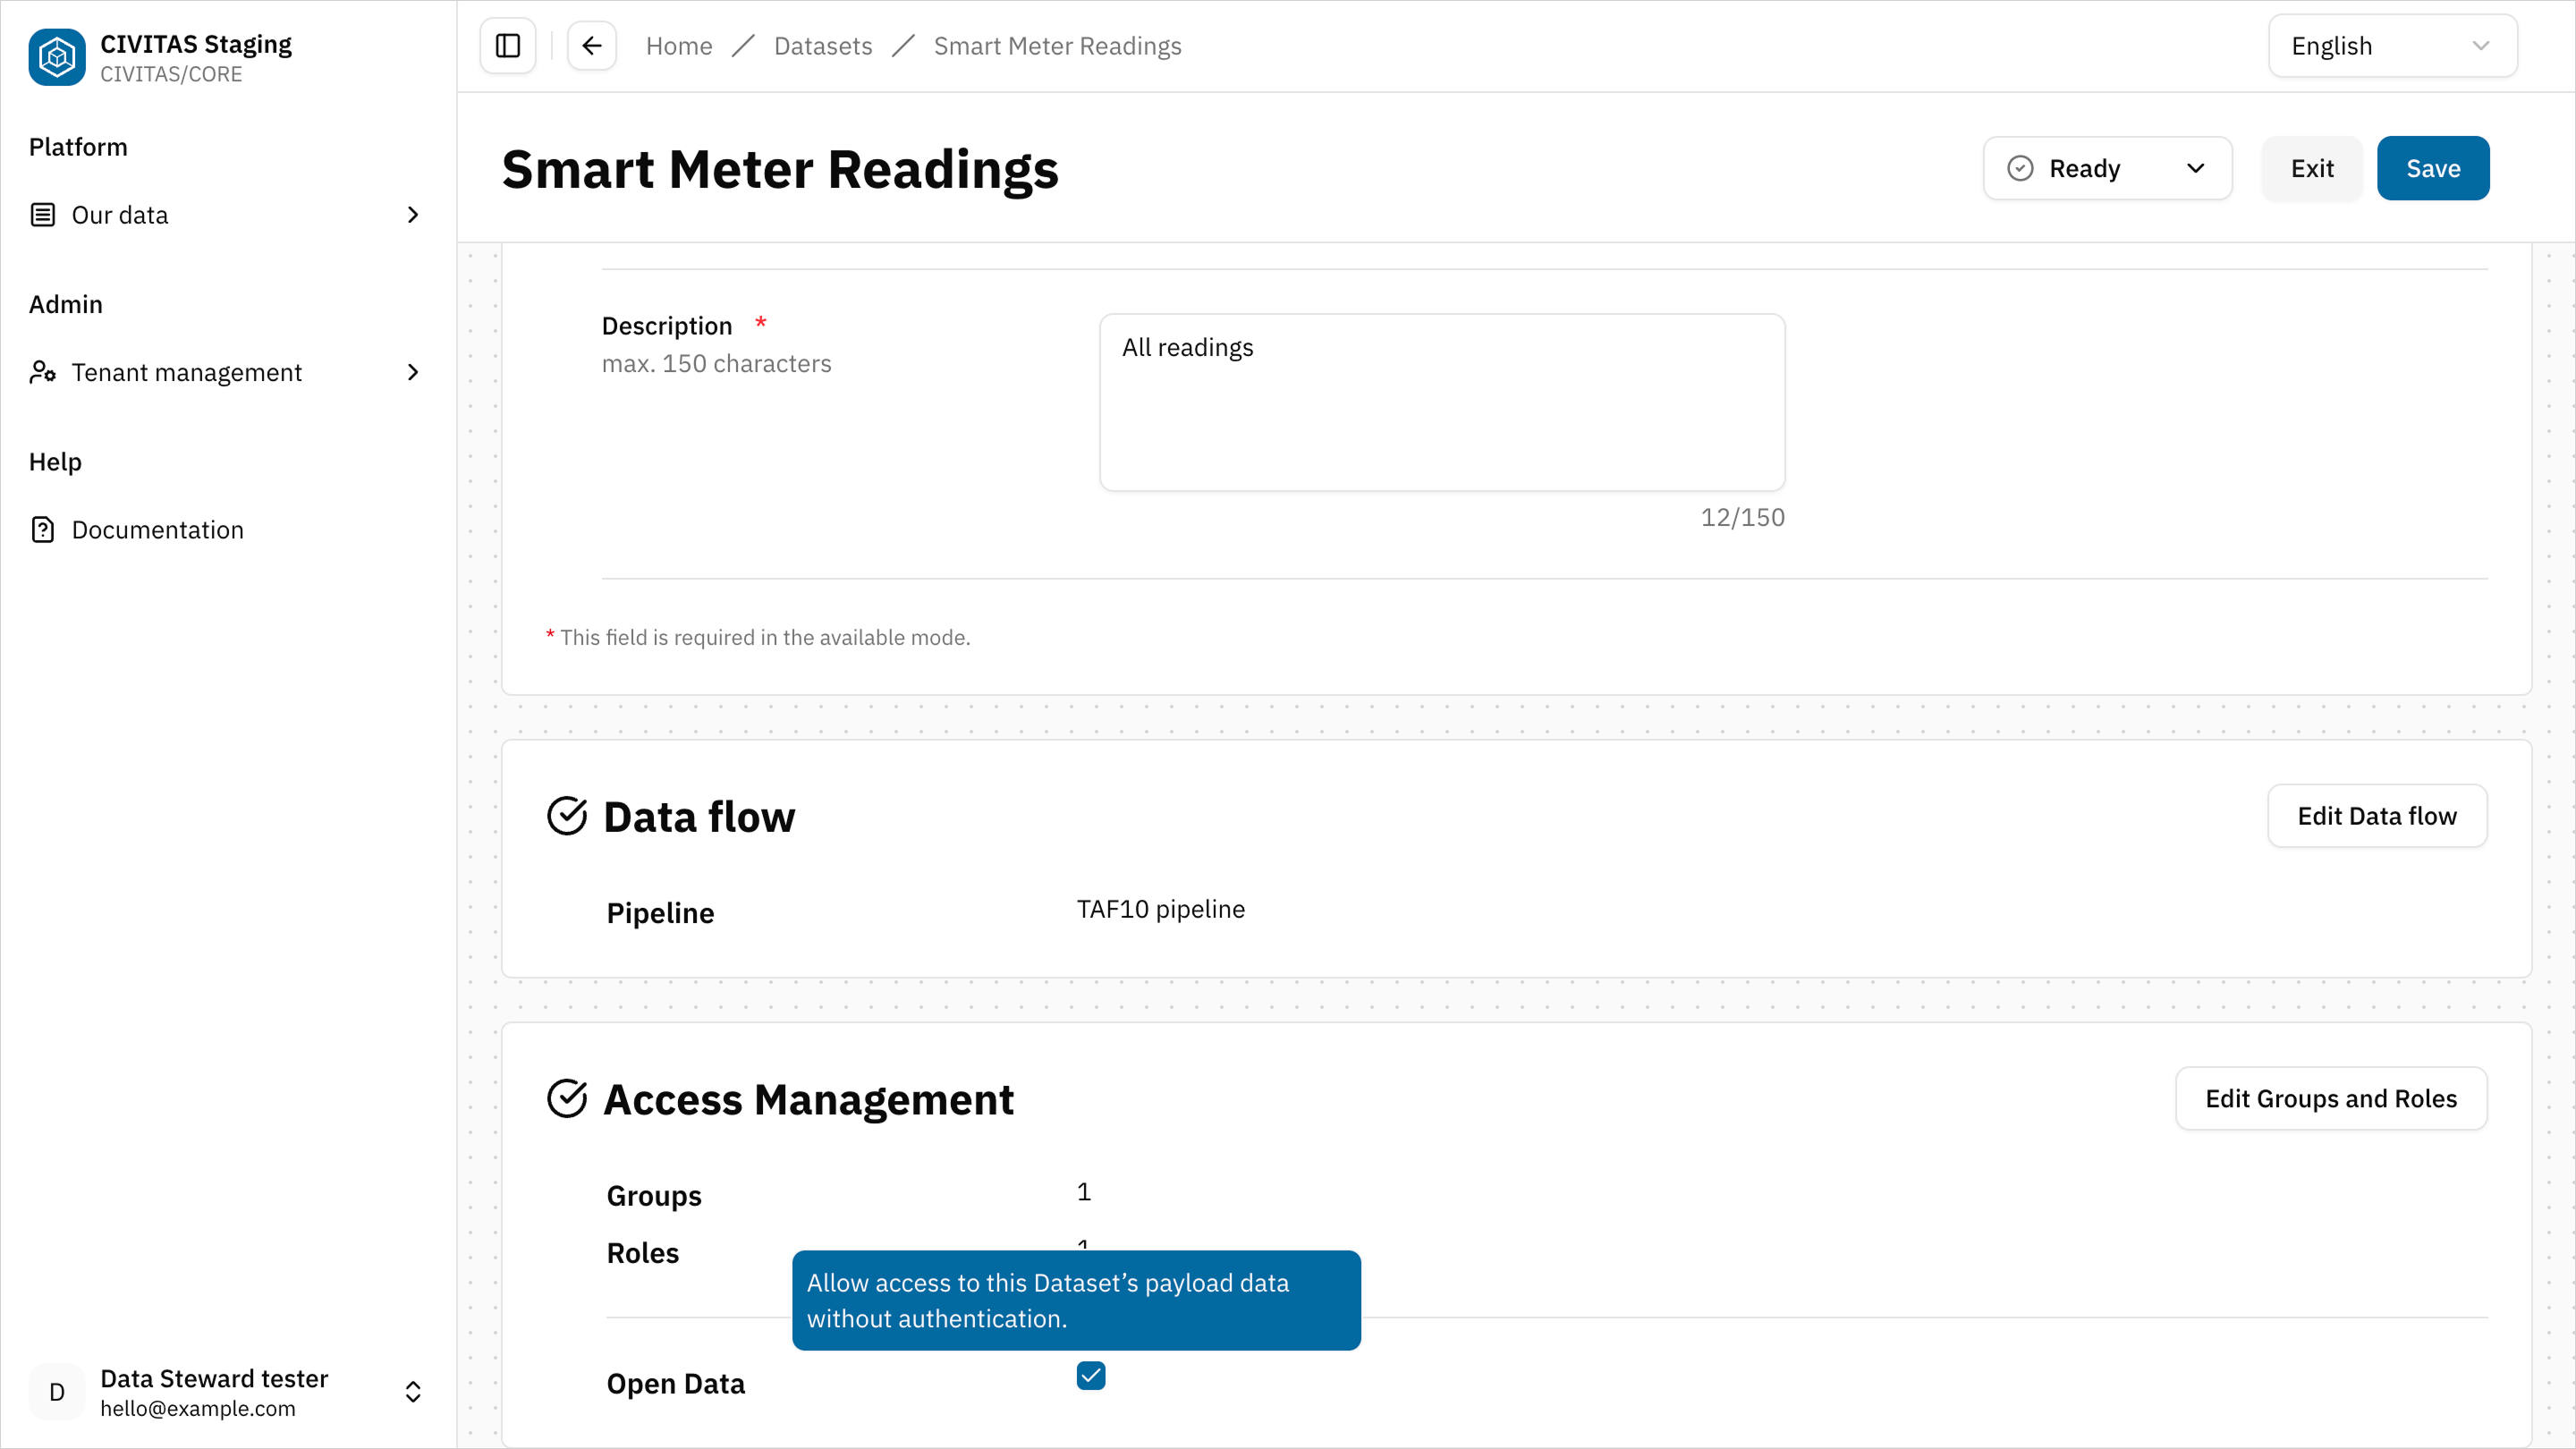
- Hit Save
Step 2: Mark the Dataset as available
The Available status makes the Dataset accessible for use via its API.
- Change the status to Available

- Hit Save and Exit
- Find the API URL in the 2nd section Data flow
 2. Share the API URL with Users who need access to the data
Outcome
The Dataset is Available and can now be accessed via its API.
- access is controlled by assigned Groups and Roles
- or publicly available if Open Data is enabled
Next
Your data is now available for use. In the next guide, you will:
- access a Dataset
- Use the API of the Dataset Payload
→ Continue with Consume Data